from Seven Seasons
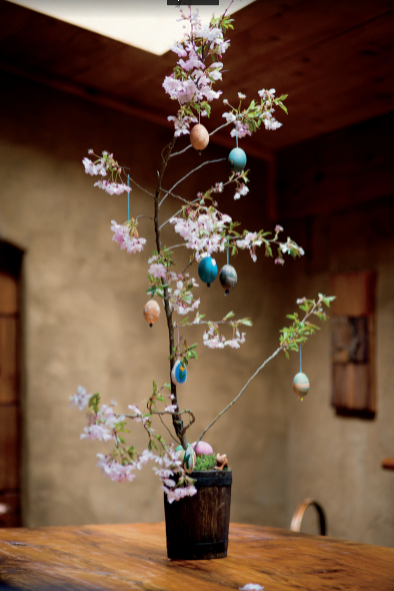
Easter trees are a beautiful tradition that Haidee brought to the farm, and a great way to bring fresh spring energy into the house. Last year I decided I wasn’t going to do an Easter tree, and my son Alex went to Lisa and said, “Granny, we need to make an Easter tree, because Mama’s not doing it this year!” And so they did: he got the branch and they dyed the eggs, and he put it all together. It was fantastic.
Dye Preparation
For all dyes, start by filling a medium pot with water and adding 1/4 cup of white vinegar.
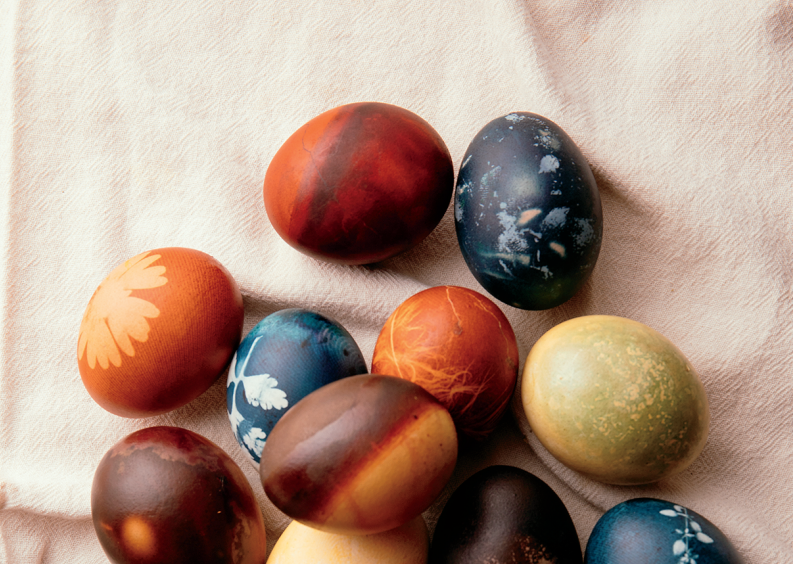
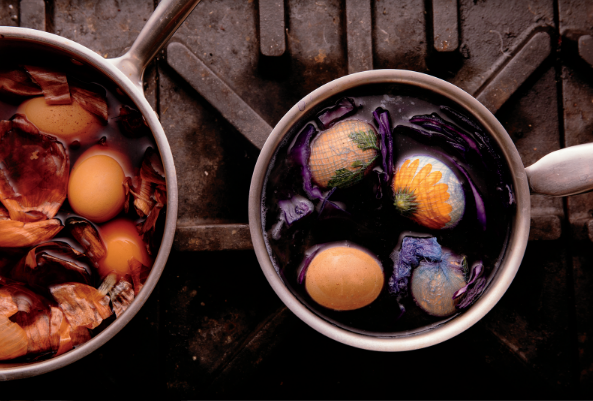
Reddish Brown: Onion skins – Remove the outer skins from 5 medium to large onions and submerge the skins in the pot. Bring the water to a boil and then simmer for a few hours, or until the water has a deep orange colour, and then strain.
Blue: Red cabbage – Roughly chop up half a red cabbage and add it to the pot. Bring it to a boil and simmer for a few hours, or until the water looks dark with colour, then strain.
Pink: Beets – Roughly chop 3 to 4 medium-sized beets and add them to the pot. Bring to a boil and simmer for a few hours, or until the water looks dark with colour, then strain.
Yellow: Turmeric – Add 4 tablespoons of turmeric to the pot and stir. Bring to a boil and simmer for a few hours, or until the water looks dark with colour, then strain.
Brown: Coffee – Make a pot of very strong coffee. Done!
Purple: Blueberries – Place 1 cup of blueberries in the pot. Bring to a boil, then let cool and strain.
Green: Mix your dyes – Mix the cabbage (blue) and turmeric (yellow) together in equal parts.
Other colours – Experiment with other things in your kitchen and garden and with other colour combinations—you never know what might happen!
Naturally Dyed Eggs
Natural dyes are easy, and the materials are commonly found: red cabbage, coffee, onion skins, turmeric, beets. The results are truly beautiful. Our chickens lay eggs that are various shades of brown, and this is mostly what we use for dyeing. We’ve found that all of the egg colours work, including white, and each lends its own variation to the dye.
First, wash one to two dozen eggs with soap and water. If you are dyeing your eggs for an Easter tree, you need to blow your eggs first. Take a large needle and poke a hole in each end of the egg (about the diameter of a spaghetti noodle, or a little larger). Put one end of the egg over a bowl and, from the other end, blow the inside of the egg into the bowl. Once all the eggs are empty, rinse them and let them dry in an egg carton, or anywhere they’ll stay safe and unbroken.
Blown eggs float, so you need to figure out a way to submerge them in the dye. A plate or some other flat object works to weigh them down. Using a French press works very well too. Submerge the eggs for six to twenty-four hours, depending on the intensity of colour you want.
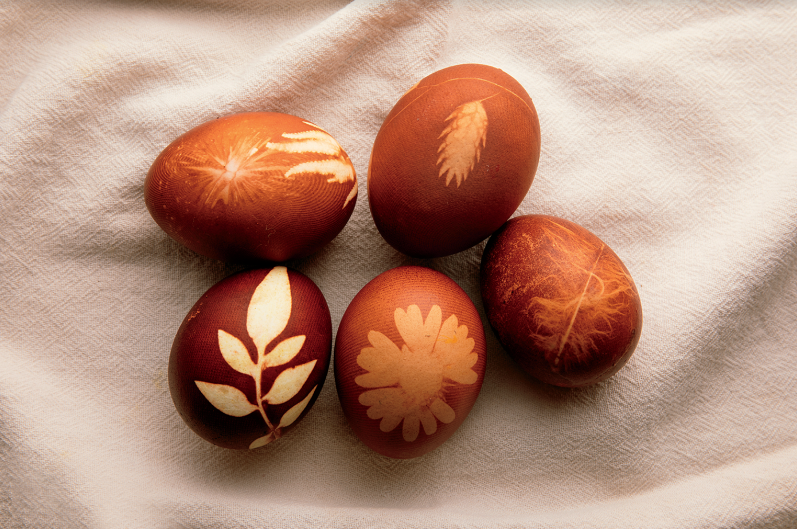
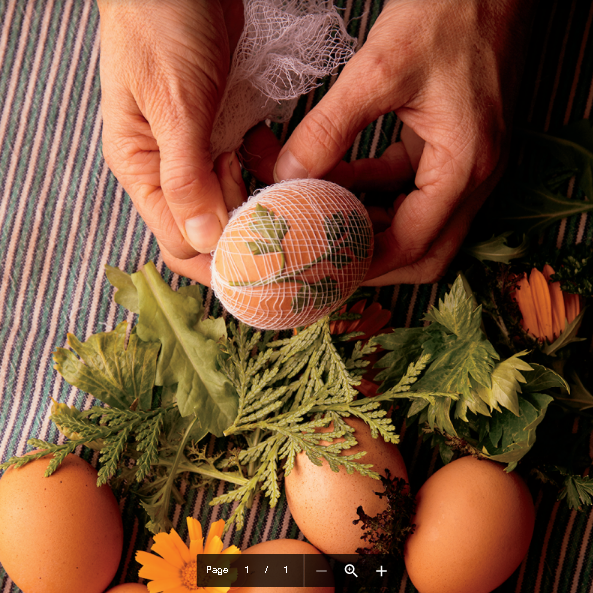
You can also create beautiful designs on the eggs by placing natural materials (leaves, cedar fronds, grasses, flowers) on the egg and wrapping it with cheesecloth or nylon stocking before placing it in the dye.
Copyright (c) 2018 by Jennifer Lloyd-Kara, Elizabeth Young, Lisa Lloyd, and Haidee Hart, Published by Page Two Books. https://pagetwo.com/book/seven-seasons-on-stowel-lake-farm/
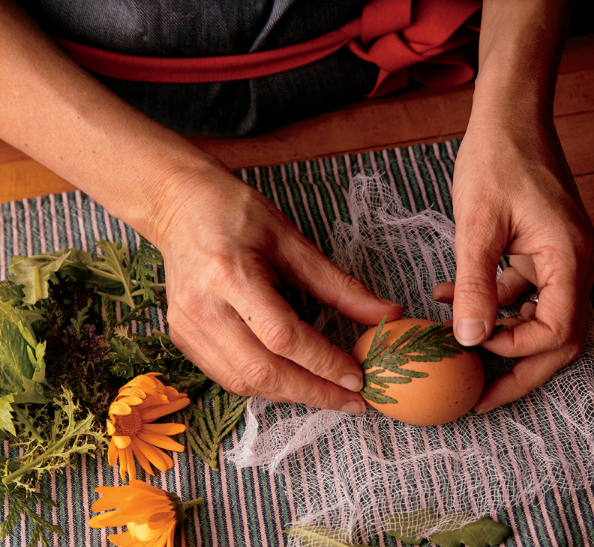
Nada’s Tips & Tricks: The fun in getting the kids involved is having them forage for natural products to make the dye and designs. The ones who love the wonder of science will be especially engaged in what nature can produce.


