from Happy Belly
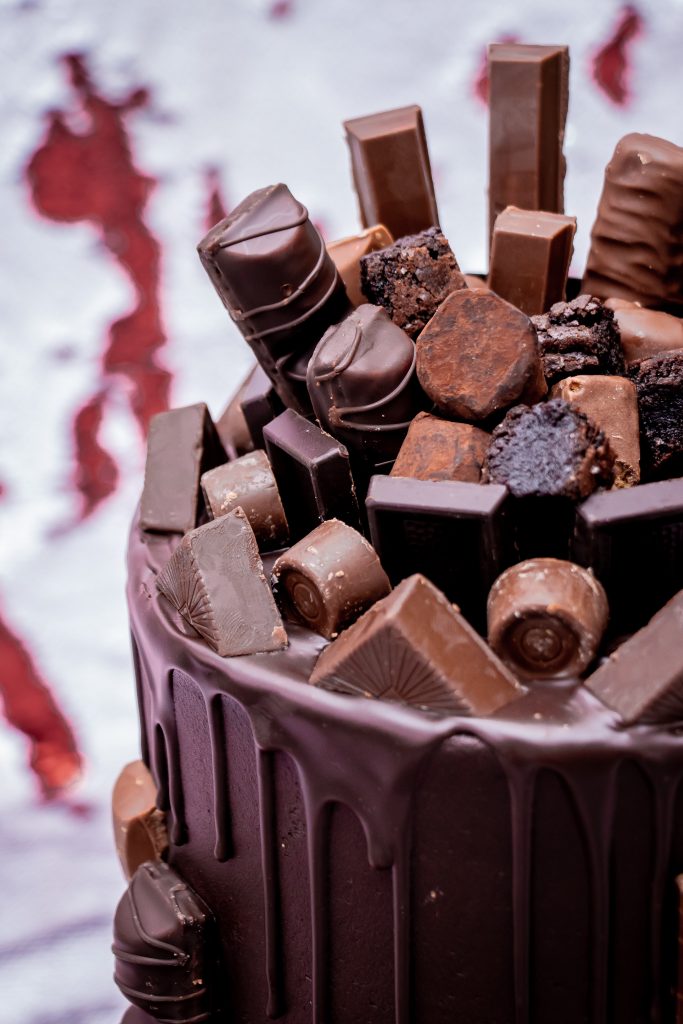
Valentine’s Day, the busiest day of the year for chocolatiers and florists! This cake can be customized to include your favourite chocolates or those of your loved one, because remember – it’s for them, not you!
Rich chocolate cake with a layer of brownie thrown in there for extra decadence. The cake is meant to be tall and over the top. You are trying to impress that special someone, right?
Make or purchase:
1 batch of chocolate cake batter, divided evenly into two 8-inch gooped pans and baked
1 ½ batches of buttercream plus 3 cups of dark cocoa and ¼ to ½ cup milk or heavy cream added a little at a time until it is creamy and spreadable
¼ cup simple syrup plus 3 to 4 Tbsp of chocolate liqueur (optional) – syrup not required for cupcakes
1 ½ batches of brownies baked in a 9 x 13-inch pan, cooled and cut into an 8” circle, with remainder as chunks for decoration
½ lb soft semi-sweet chocolate ganache
Chocolates, milk and dark for contrast, for decoration
For cupcakes:
1 batch of brownies, baked in a 8×8” pan and using an apple corer to make cupcake rounds
Cake Assembly:
Level and torte the cakes giving you four layers.
Spread a small amount of buttercream onto the cake plate so the first layer of cake sticks to it.
Layer the cake as follows:
- Cake soaked in syrup
- 1 cup buttercream
- Cake soaked in syrup
- 1 cup buttercream
- Brownie layer
- 1 cup buttercream
- Cake soaked in syrup
- 1 cup buttercream
- Cake soaked in syrup
Place in the refrigerator for 15 to 20 minutes to set before crumb coating. This will help stabilize the cake and set the buttercream so the layers don’t slide apart while finishing.
Crumb-coat the cake with a thin layer of buttercream and place back in the refrigerator for 10 to 15 minutes.
Remove from the refrigerator and add the final layer of buttercream. Frost with a smooth finish. This will allow the drip to run smoothly.
Set in the freezer for 15 to 20 minutes. The cake should be cold enough to set the ganache.
Warm the ganache gently until you can pour it.
Pour ganache into a squeeze bottle with a nozzle top and create drips along the side of the cake.
Squeeze a large pool of ganache on the top centre of the cake. Use an offset spatula to evenly spread it, being careful not to push it over the edge, as it will ruin the perfect drips.
Arrange the chocolates as you see fit, creating height and dimension to the top of the cake. If you like, you can cut them in halves and thirds and create a patterned border around the base. Place a few on the sides as well. There is really no right or wrong to this cake.
Cupcake Assembly:
Core each cupcake using an apple corer.
Place warmed ganache in a squeeze bottle. Squeeze a little into each cupcake and insert a brownie piece.
Put the buttercream in a piping bag with a 1A tip and pipe a semi-swirl.
Insert chocolate pieces and brownie chunks. Drizzle with ganache.
Nada’s Tips & Tricks: Many components in this cake requires you to source Aaron’s basic recipes in the book. Some bakers have their own spin on these basics but if you want to be authentically “Aaron”, purchase the book and try his versions. Not that confident in the baking world? Use premade or boxed substitutes for the components you don’t feel skilled or have time to make from scratch…it’s ok! Not all of us are experts at every aspect of cooking and baking…be ok with what you can do and leave the rest to the food industry!
Contents and images used with permission by Breakwater Books. https://breakwaterbooks.com/collections/cookbooks/products/happy-belly


